Hey there! I'm an organic raw garlic supplier, and I've been dealing with this amazing ingredient for years. Garlic is not only a staple in kitchens worldwide but also has some fantastic health benefits. One of the great ways to enhance its flavor and extend its shelf - life is through fermentation. In this blog, I'll share some ways to ferment organic raw garlic.

Why Ferment Garlic?
Before we jump into the fermentation methods, let's talk about why you'd want to ferment garlic. Fermented garlic has a milder, sweeter flavor compared to raw garlic. It also contains beneficial probiotics, which are great for your gut health. And since it's fermented, it can last much longer than fresh garlic, so you don't have to worry about it spoiling quickly.
Materials You'll Need
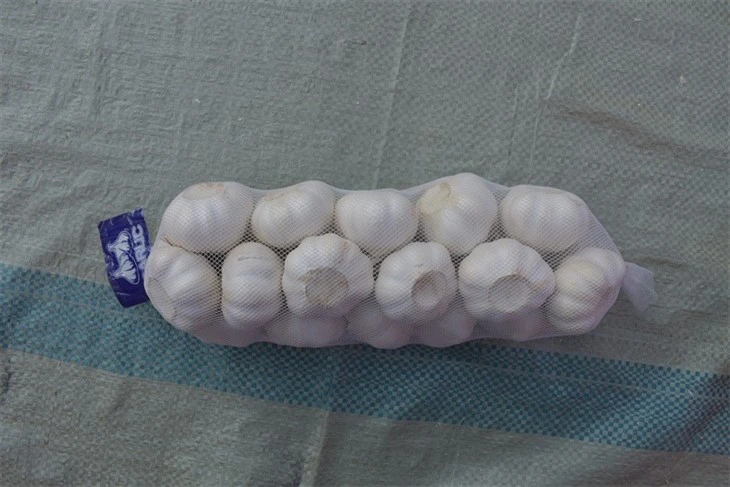
- Organic raw garlic: Of course, as a supplier, I recommend getting high - quality organic raw garlic. You can check out Garlic From The Market to see what's available.
- Salt: This is essential for the fermentation process as it helps to create an environment where good bacteria can thrive.
- Water: You'll need clean, preferably filtered water.
- A glass jar with a tight - fitting lid: Glass is the best material as it won't react with the garlic or the fermentation process.
Method 1: Salt Fermentation
This is one of the simplest ways to ferment garlic.
- Prepare the garlic: Start by peeling the organic raw garlic cloves. You can choose either Purple - skinned Garlic or White Garlic depending on your preference. The purple - skinned garlic often has a slightly different flavor profile, a bit more complex compared to the milder white garlic.
- Make the salt brine: In a small bowl, mix about 1 - 2 tablespoons of salt with 1 cup of water. Stir until the salt is completely dissolved. The amount of salt can vary depending on how salty you like your fermented garlic.
- Fill the jar: Put the peeled garlic cloves into the glass jar. Pour the salt brine over the garlic, making sure all the cloves are completely covered. Leave about an inch of space at the top of the jar.
- Seal the jar: Put the lid on the jar tightly. Place the jar in a cool, dark place. You can check on it after a few days. You'll start to see bubbles forming, which is a sign that the fermentation process is working.
- Wait and taste: Let the garlic ferment for about 2 - 3 weeks. After this time, you can taste it. If it has the flavor you like, you can move the jar to the refrigerator to slow down the fermentation process.
Method 2: Honey Fermentation
Honey fermentation gives the garlic a sweet and tangy flavor.
- Prepare the garlic: Just like in the salt fermentation method, peel the organic raw garlic cloves.
- Mix with honey: Take a jar and layer the garlic cloves with honey. Start with a layer of honey at the bottom, then add a layer of garlic, and repeat until the jar is almost full. Make sure there's enough honey to cover all the garlic cloves.
- Seal and let it sit: Put the lid on the jar and place it in a warm spot. The warmth helps to kick - start the fermentation process. You'll notice the honey starting to break down and the garlic changing color over time.
- Check and store: After about a week, you can start checking the garlic. Once it has the flavor you desire, you can store it in the refrigerator. This fermented garlic is great to use in dressings or as a spread on toast.
Method 3: Fermenting with Herbs
Adding herbs to the fermentation process can give the garlic an extra boost of flavor.
- Prepare the garlic and herbs: Peel the garlic cloves and gather your favorite herbs. Some good options include thyme, rosemary, or oregano.
- Create a brine: Make a salt brine as described in the salt fermentation method.
- Layer in the jar: Put a layer of herbs at the bottom of the jar, then a layer of garlic. Alternate between layers of herbs and garlic until the jar is almost full. Pour the salt brine over the layers, making sure everything is covered.
- Ferment: Seal the jar and place it in a cool, dark place. After about 2 - 3 weeks, the garlic will be fermented and full of the delicious flavors of the herbs.
Tips for Successful Fermentation
- Use clean equipment: Make sure all the jars, utensils, and your hands are clean before you start the fermentation process. This helps to prevent any unwanted bacteria from getting into the garlic.
- Monitor the temperature: The temperature plays a crucial role in fermentation. Too cold, and the process will be slow; too hot, and the garlic might spoil.
- Burp the jars: If you notice a lot of pressure building up in the jar during fermentation, you can "burp" it by opening the lid slightly to release the gas.
Conclusion
Fermenting organic raw garlic is a fun and rewarding process. It not only changes the flavor of the garlic but also adds some great health benefits. Whether you choose salt fermentation, honey fermentation, or fermenting with herbs, you're in for a treat.
If you're interested in purchasing high - quality organic raw garlic for your fermentation projects or other culinary uses, feel free to reach out for a purchase negotiation. I'm always happy to talk about the best garlic options for your needs.
References
- "The Art of Fermentation" by Sandor Ellix Katz
- Various studies on the health benefits of fermented foods.